When assembling a vehicle or miniature, we often have to choose between several weapon options but end up gluing just one… Why deal with such a frustrating decision when magnets can solve the problem? In this article, I’ll show you some examples of how to use magnets on vehicles or miniatures for the Star Wars Legion game.
Why use Magnets for your Miniatures?
The primary reason is to achieve WYSIWYG ( “What You See is What You Get.”). In the context of a wargame, WYSIWYG means that a miniature is modeled with the exact weapons and equipment it uses in the game.
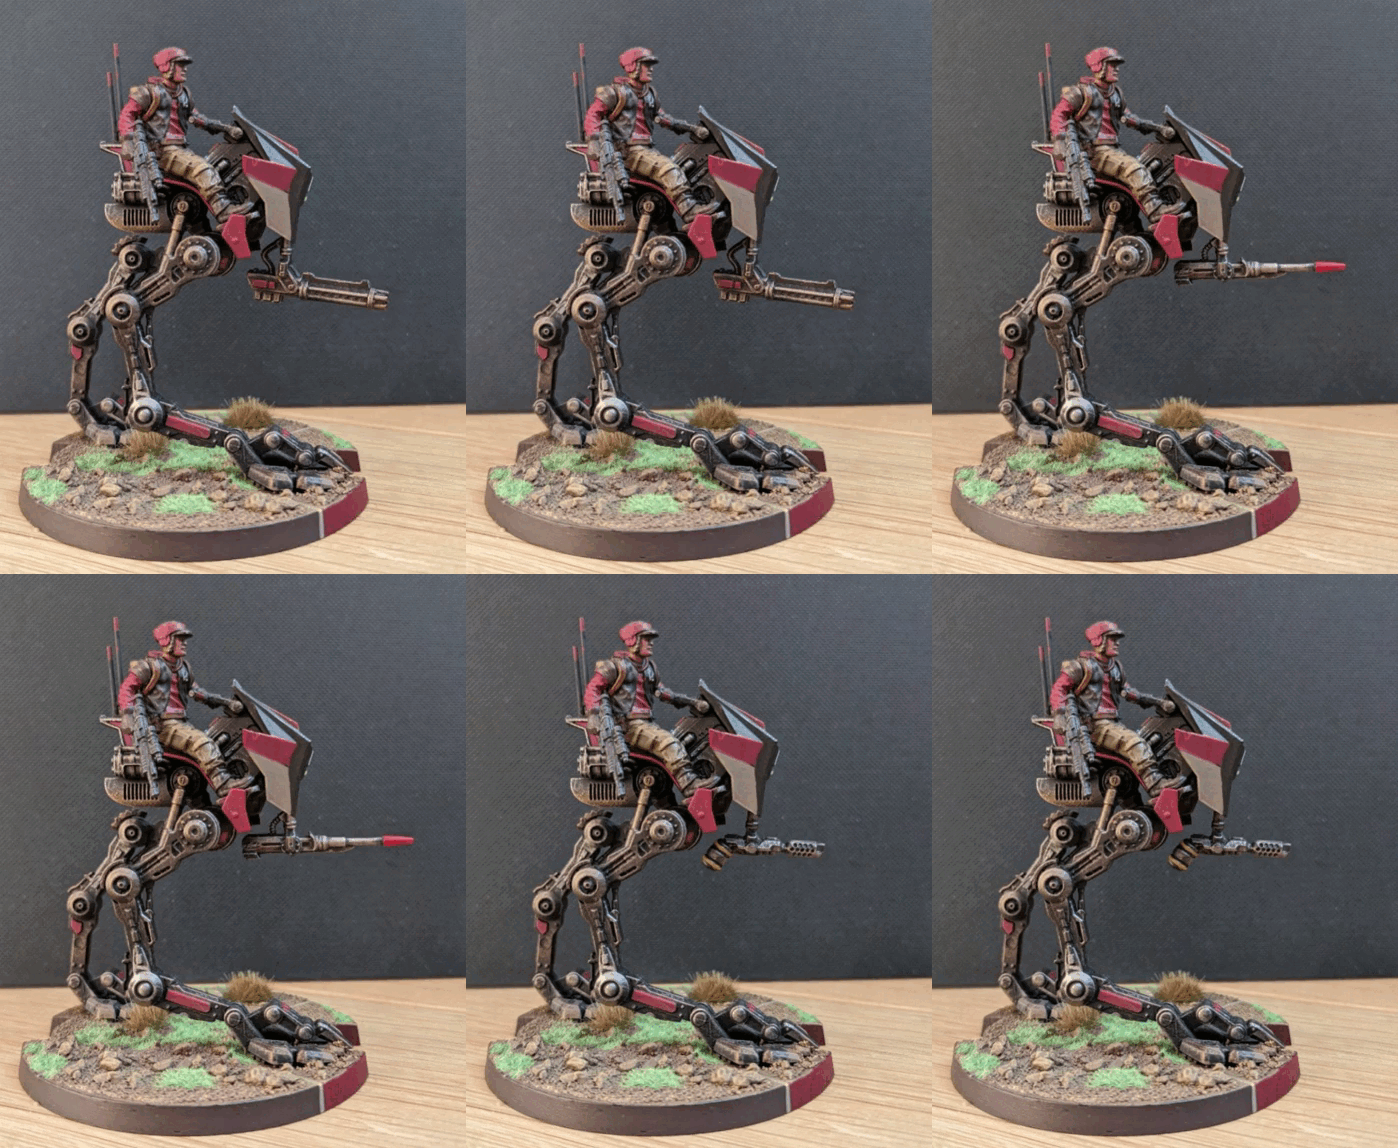
The AT-RT is a Rebel vehicle that can be equipped with three different weapons: a rotary blaster, a flamethrower, or a laser cannon. Depending on the army list being played, you’ll choose one weapon over another. This is where magnets are invaluable for achieving WYSIWYG!
How to Attach Magnets to Miniatures or Vehicles
Attaching magnets is not particularly complicated. Let’s take the example of the Rebel AT-RT:
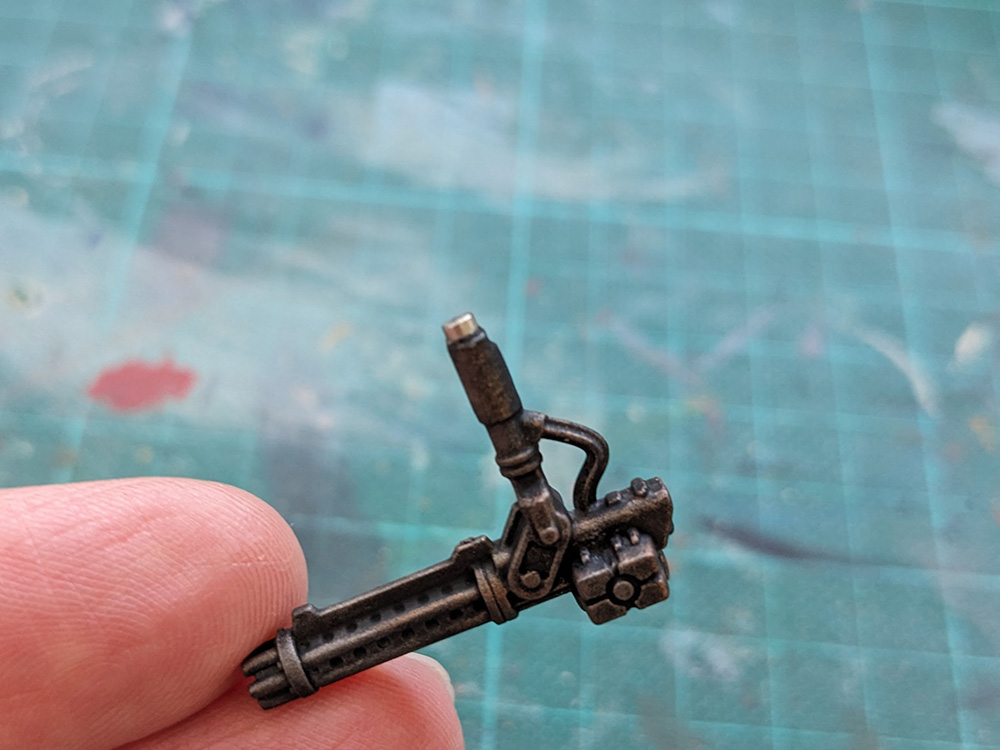
- Step One: Attach a magnet to the weapon barrels at the end that connects to the walker.
- Step Two: Attach a magnet to the vehicle in the area where the weapon will be mounted.
⚠️ Important note
Make sure to check the orientation of the poles before gluing the second magnet. If you accidentally reverse the poles, the weapon and vehicle magnets will repel instead of attracting!
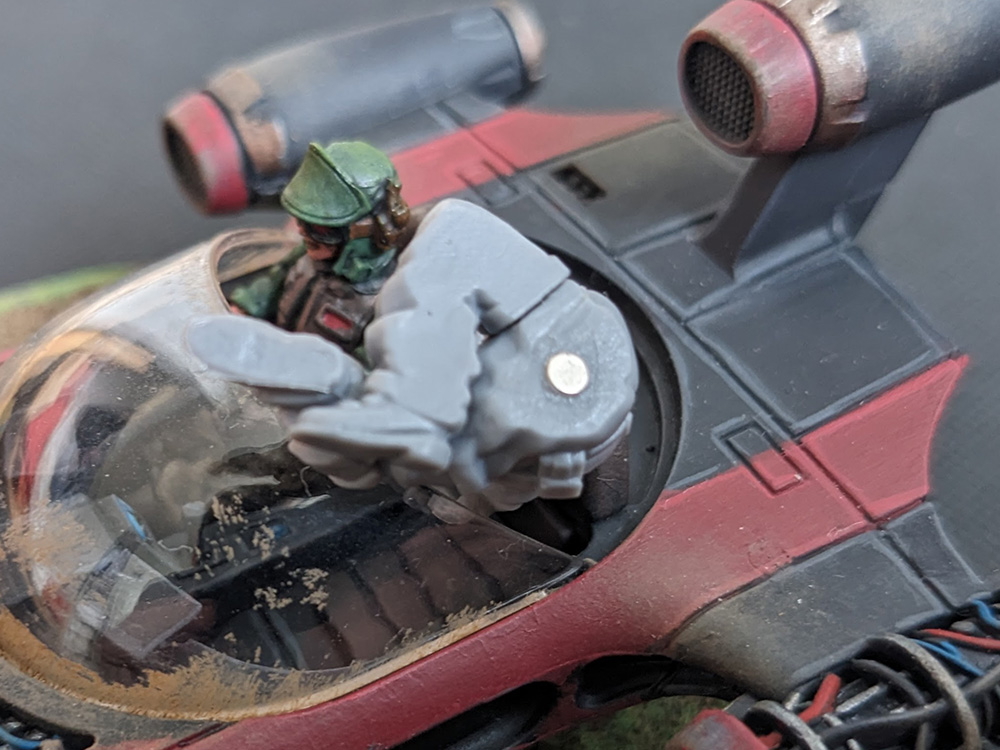
In the case of the AT-RT, this second step didn’t require any drilling because the area was concealed by the vehicle’s front frame. However, for some miniatures or vehicles, you may need a hand drill to make a hole for the magnets. For example, when working on my Landspeeder (WIP), both the crew members and the vehicle itself required an intermediate step: creating recessed spaces for the magnets.
Additional Examples
The Landspeeder
Returning to the Landspeeder, this vehicle offers a wide range of upgrades: weapons, pilots, or crew members. Given its many options, magnets are an excellent choice for this model. Limiting yourself to a single configuration would be a shame, especially for such a stunning piece in the Legion collection, in my humble opinion.
Just like the AT-RT, both the cannon and the blaster on the Landspeeder are magnetized. This allows me to equip the appropriate weapon on the Landspeeder according to the army list being played.
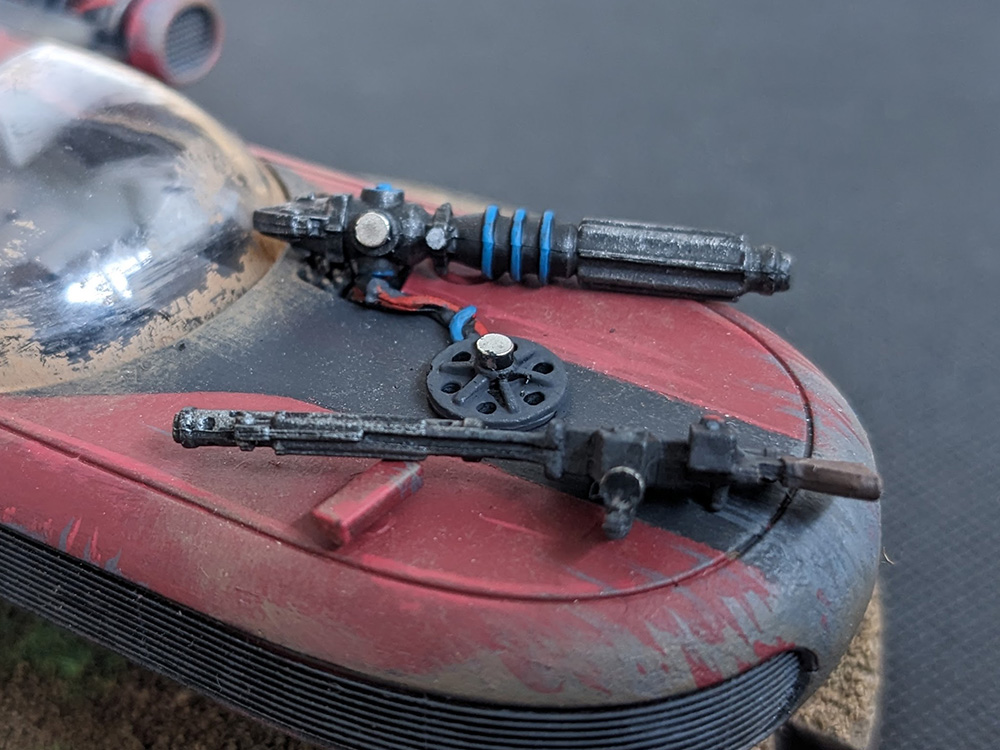
A slot designed for a crew member can also hold a cannon—and vice versa! The flexibility offered by magnets encourages creativity.
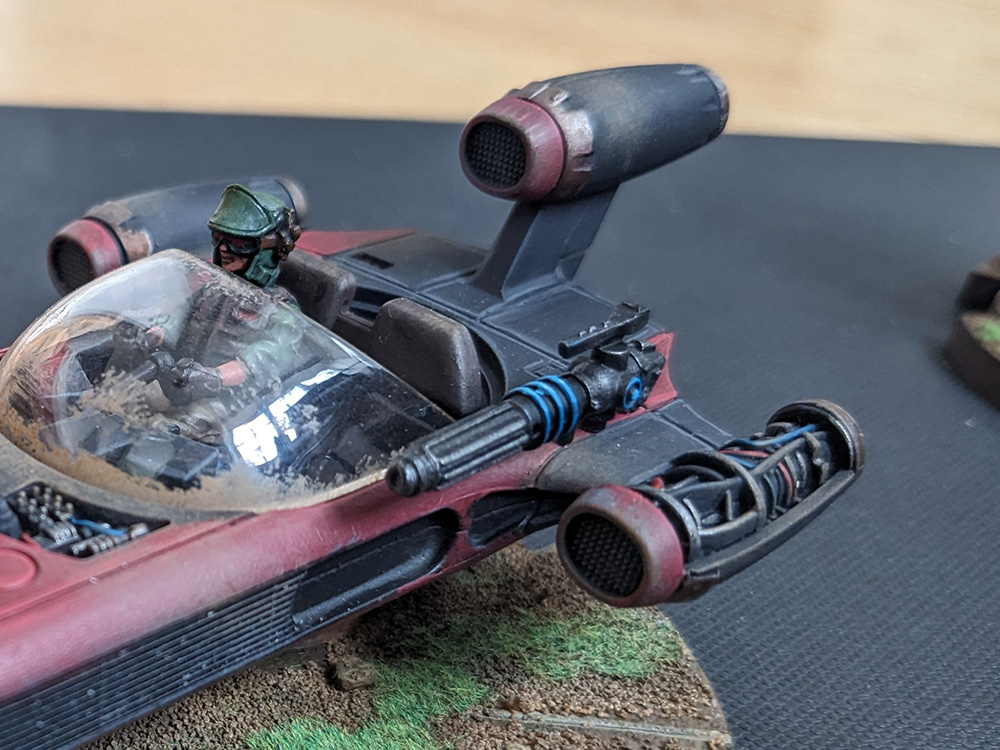
Bonus Feature: Once several of your miniatures or vehicles are magnetized, you can mix and match parts between models, letting your imagination run wild!
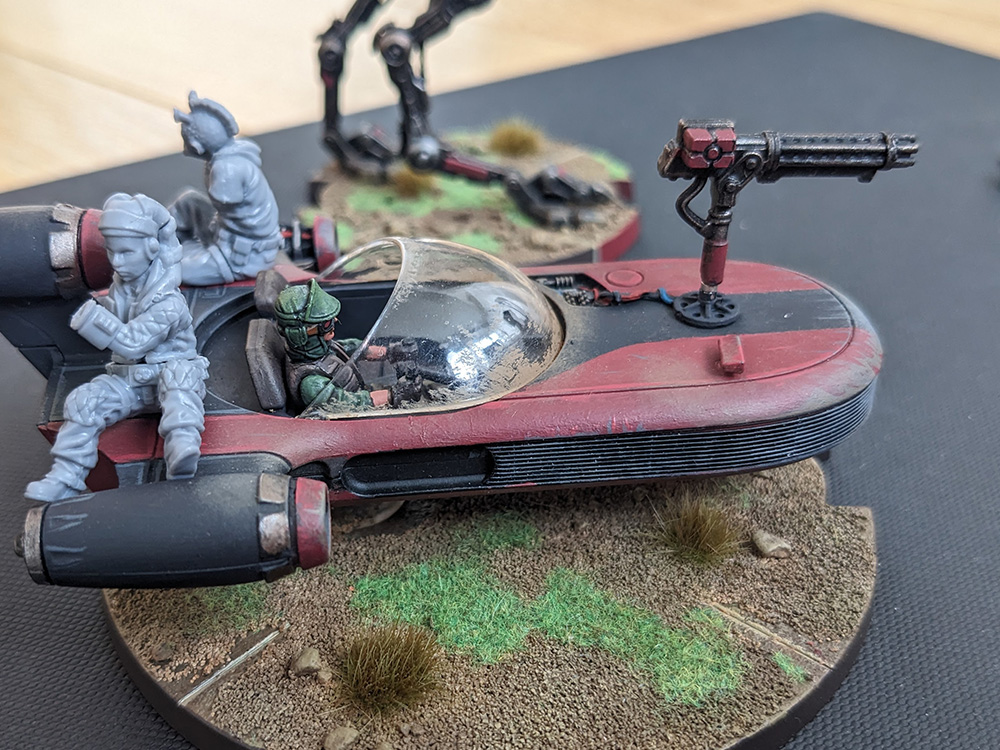
⚠️ Important note
Weapon swaps will only work if you’ve maintained consistent pole orientations across your vehicles. For example, if the visible face of the magnet on your Landspeeder is the South pole, the AT-RT should follow the same orientation.
Ahsoka and her hood
Magnets don’t have to be solely for WYSIWYG purposes—they can also enhance the aesthetic of your miniatures. In my case, after acquiring a 3D-printed Ahsoka model, I couldn’t decide between displaying her with or without her hood.
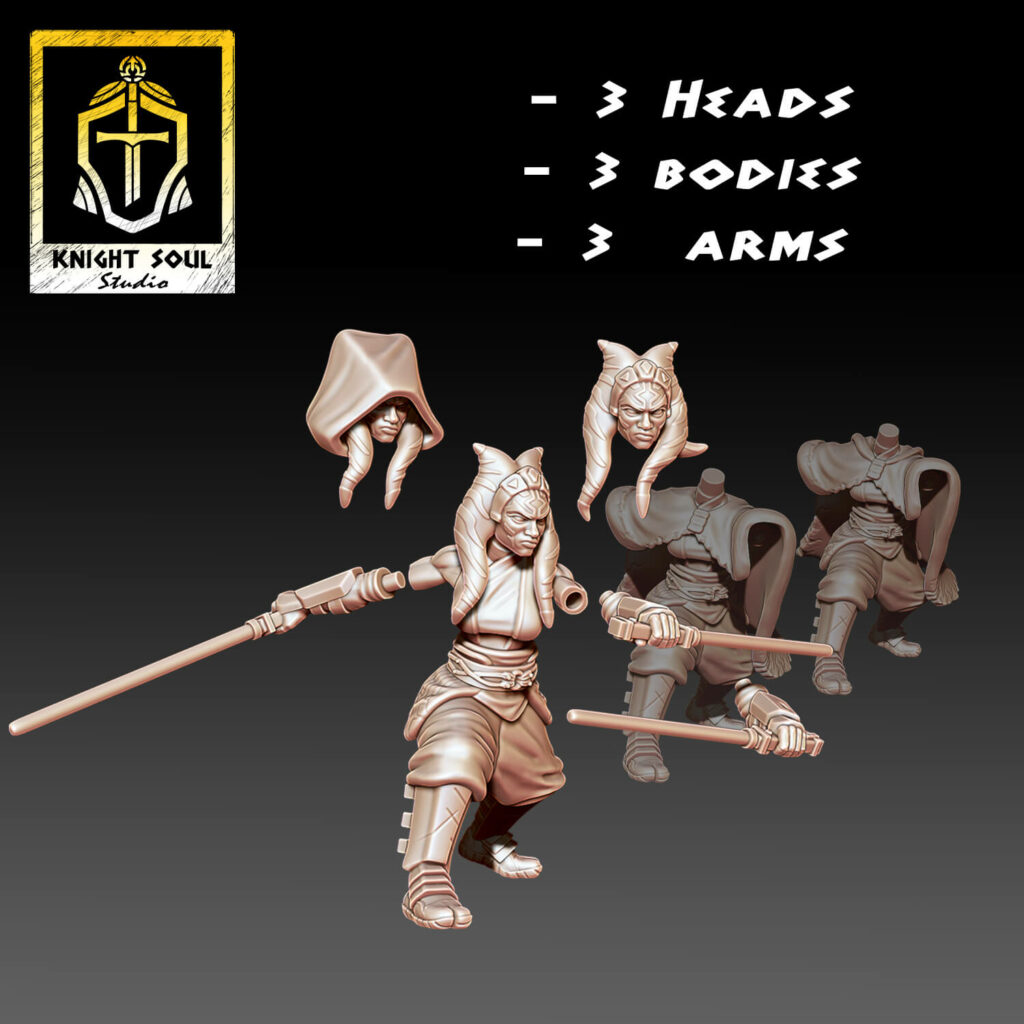
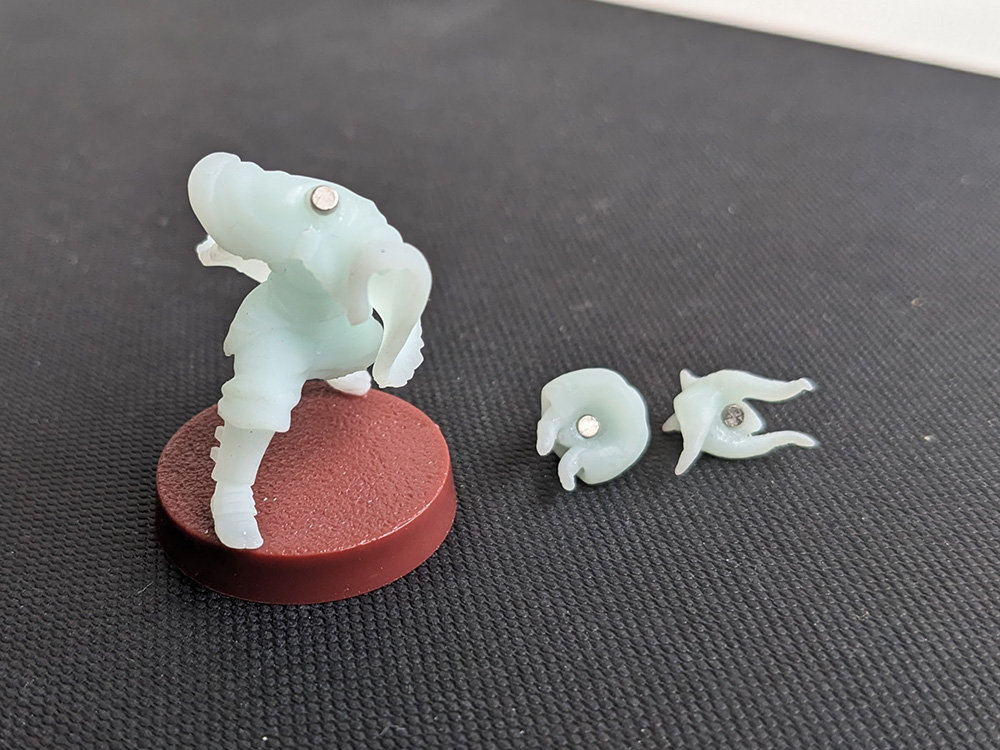
I opted for magnets, allowing me to field Ahsoka either as a stealthy Jedi operative or with her hood removed, ready for battle.
⚠️ Material and magnet considerations
When using magnets, pay attention to:
– Magnetic Strength: Heavier metal parts require stronger (and often larger) magnets compared to plastic components.
– Material Type: While fragile, 3D-printed resin is just as suitable for magnetization as plastic.
What tools and materials were used ?
To magnetize your miniatures the way I’ve shown in this article, you’ll need:
- Magnets (2x1mm in my case, but other sizes are possible)
- A hand drill with a bit that matches the size of your magnets
- Super glue
Written by :
The knowledge behind your victories matters
Share your passion and tactical experience. Critical Hit welcomes occasional contributions from its readers.
