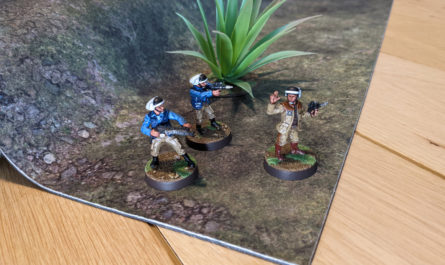
Would you like to quickly decorate your battlefield at a low cost? A bit of crafting doesn’t scare you away ? Have a look at the following tutorial then. It involves creating rocks (or even rocky outcrops) for your gaming table.
Illustrations
By following this tutorial, you’ll be able to create rocks similar to those shown below:
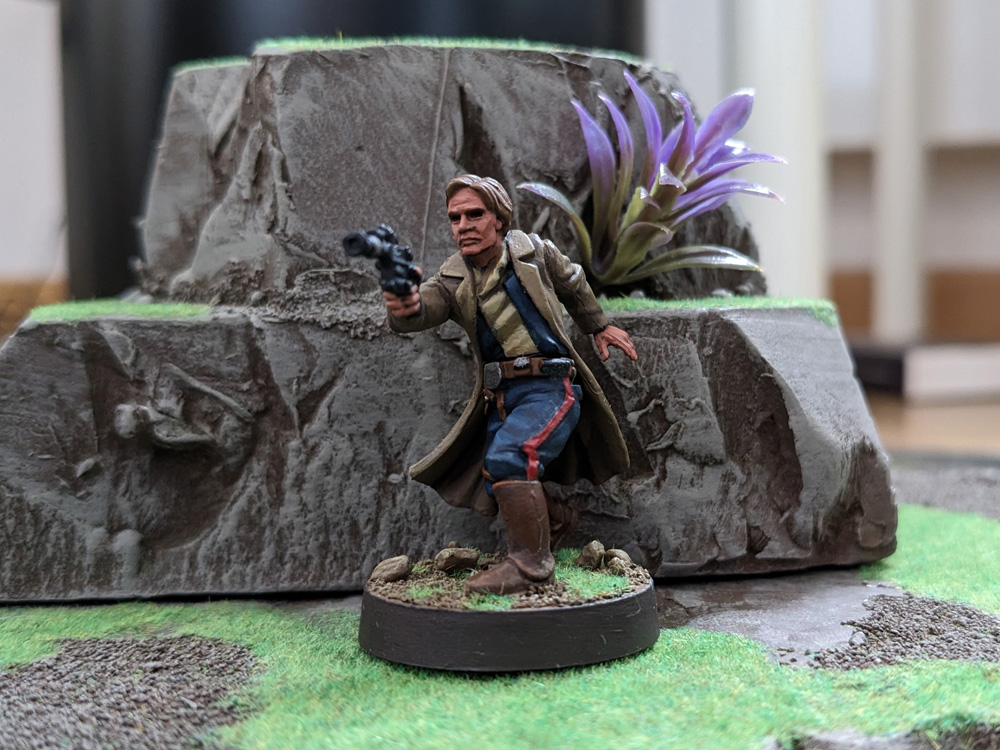

The material used in this tutorial is polystyrene. Mainly used as insulation in construction, it is sold as large interlocking panels in hardware stores. I encourage you to use it because it offers several advantages for modeling:
- It is cheap (around €9 per square meter).
- It is dense and lightweight.
- It doesn’t crumble, unlike Styrofoam.
- It has an ideal thickness for 35mm miniature games: 28mm, which corresponds to the foot-to-torso height of the miniatures.

The Step-by-Step Tutorial
Determining the Purpose of the Terrain
The first step is a planning stage. What will be the terrain’s function on the gaming table? Blocking line of sight? Providing cover for units? Allowing elevated gameplay? The answer to this question will guide your approach to assembly:
- You can stack pieces of polystyrene of different sizes to form a pyramid. This is useful for heavy cover and elevated gameplay.
- You can layer sheets of the same surface area and then sculpt them into the desired rock shape. This method is recommended if you want to create large, impassable volumes, such as cliffs.
Cutting and Assembling Polystyrene Blocks
In the second step, you cut pieces from the polystyrene sheet and assemble them.
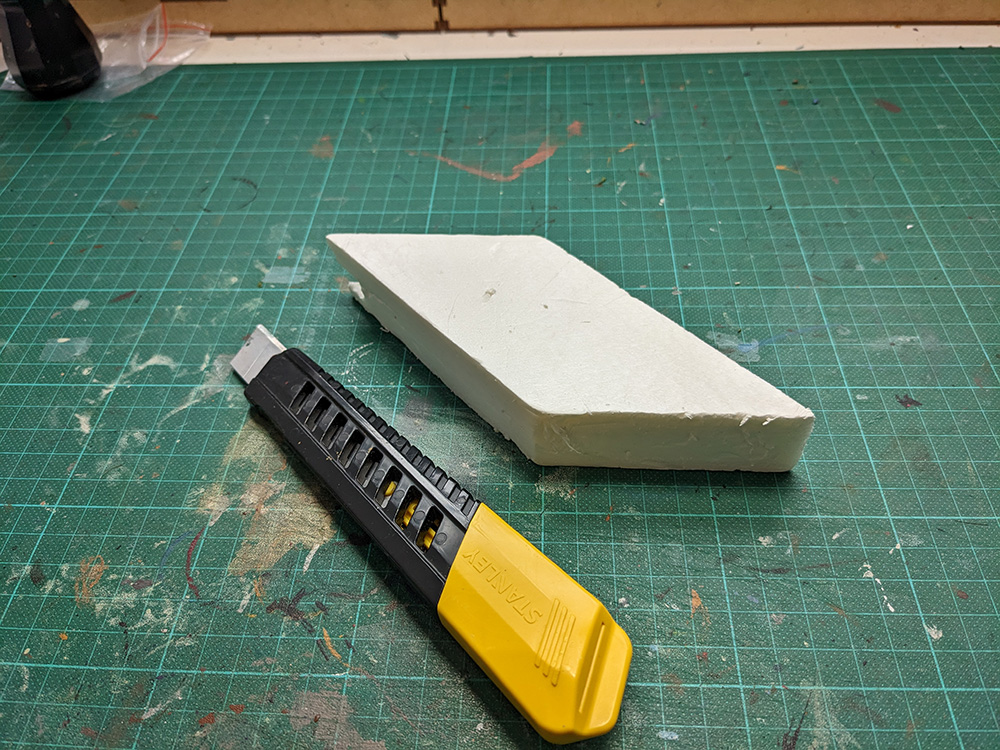
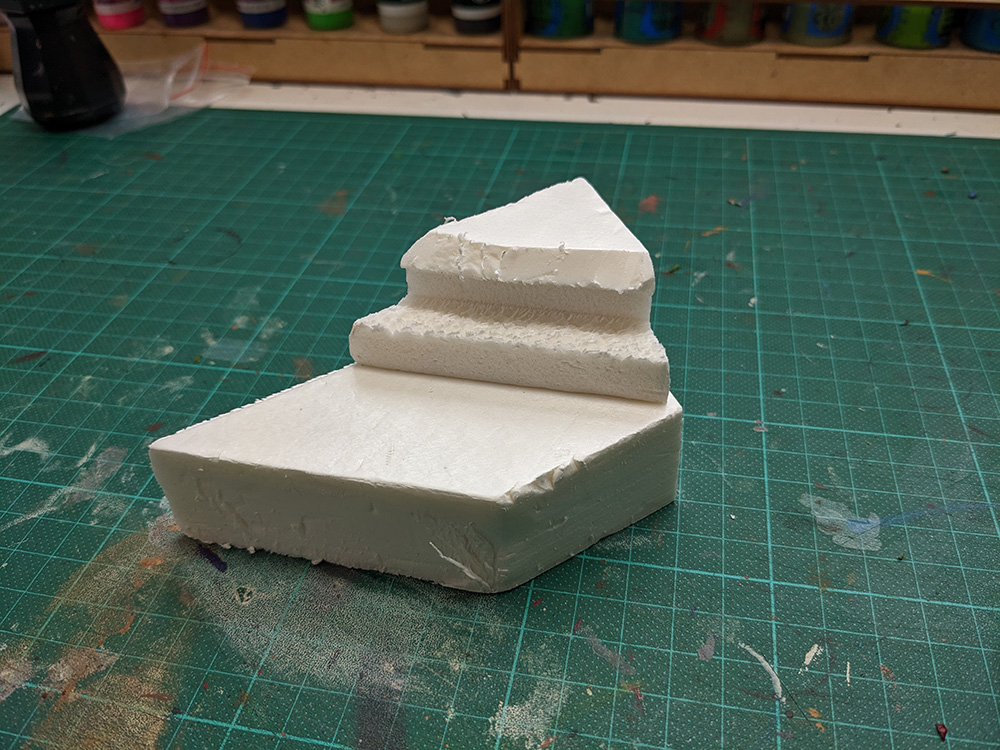
Tip
To join the polystyrene blocks, you’ll need a glue specifically designed for this material. Since it is odorous, be sure to use it in a well-ventilated space. I occasionally use toothpicks to help secure the polystyrene blocks in addition to the glue.
Carving details
Once your cuts are glued, it’s time to move on to sculpting.
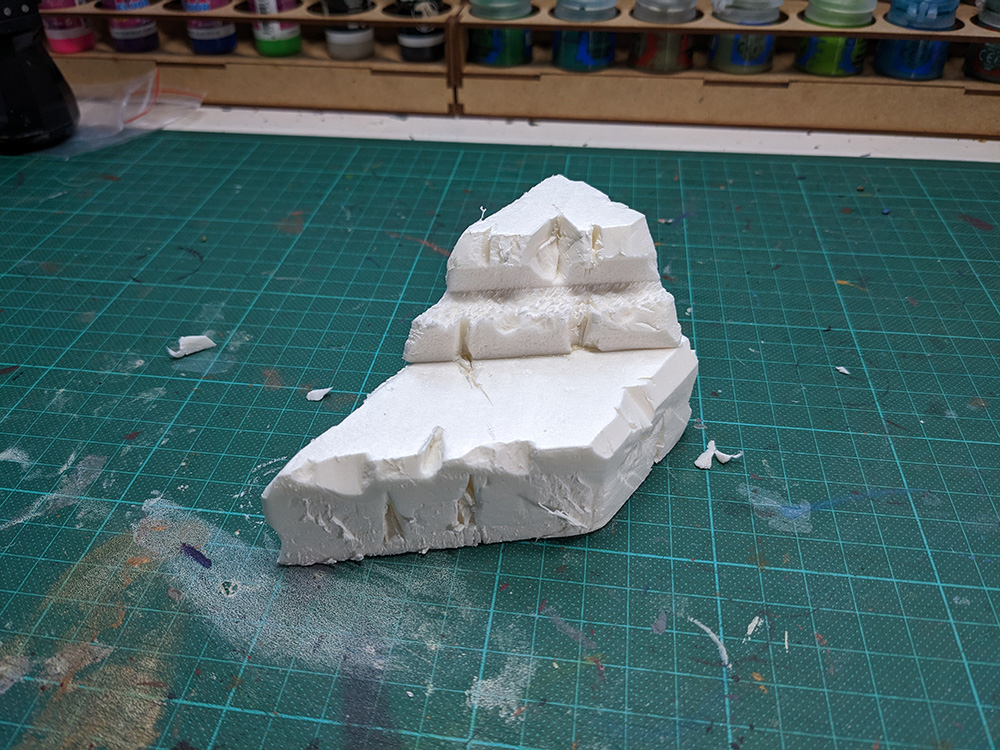
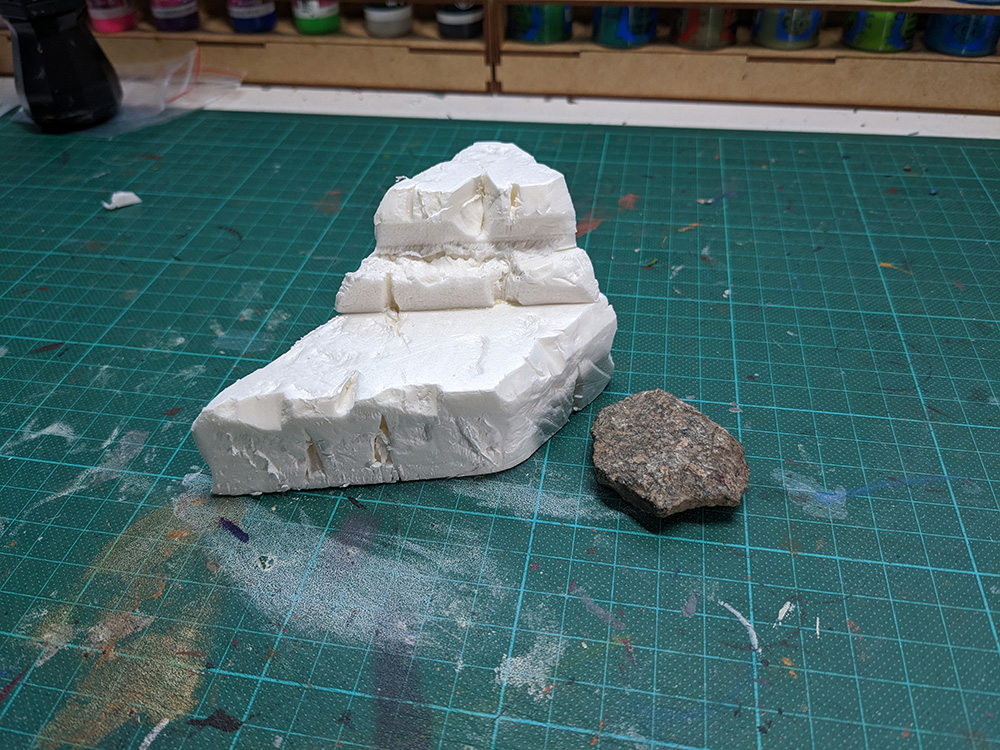
Since rocks are remnants of the past, time has softened their edges and eroded some parts. What you need to do in this step is beveling the edges of the structure and removing all traces of perfect geometry. To add texture to the flat parts of the structure, I recommend using a stone. Pressing the stone into the polystyrene leaves marks that enhance the realism.
Tip
I recommend using a box cutter (rather than a hot wire cutter) because its angular and rough cuts will give the rocks a more realistic appearance.
Primary Flocking
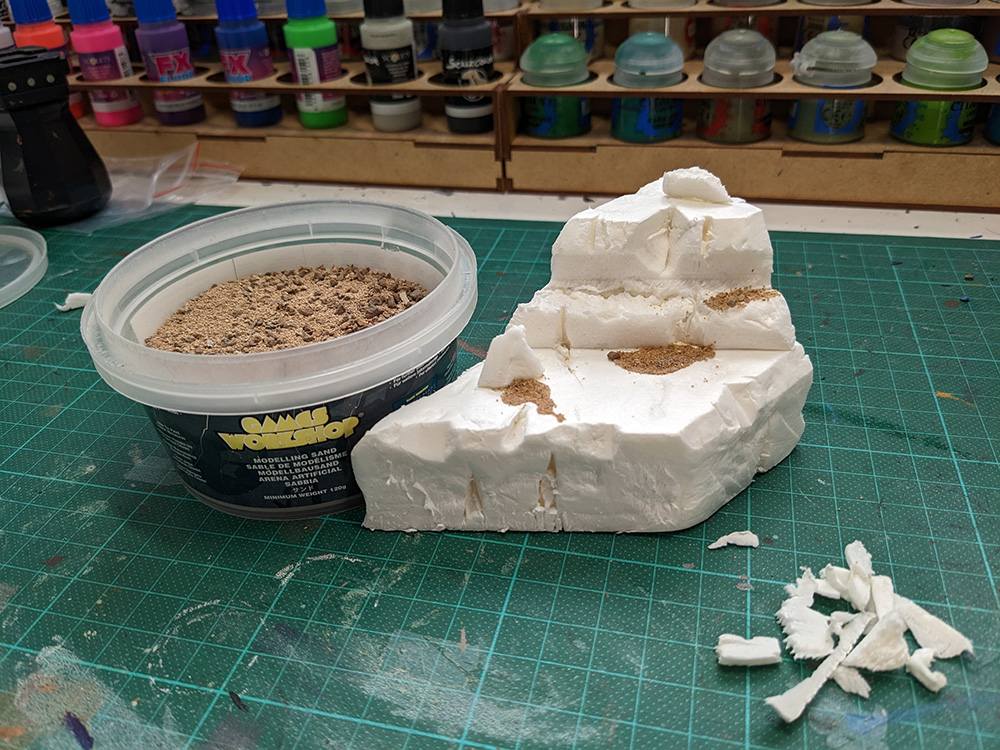
The final step before priming is primary flocking, which adds details to make the whole piece more realistic, such as collapsed stone blocks and rubble. To simulate this, I use sand and recycle the polystyrene cutting scraps. The sand is fixed with wood glue.
Painting
Priming
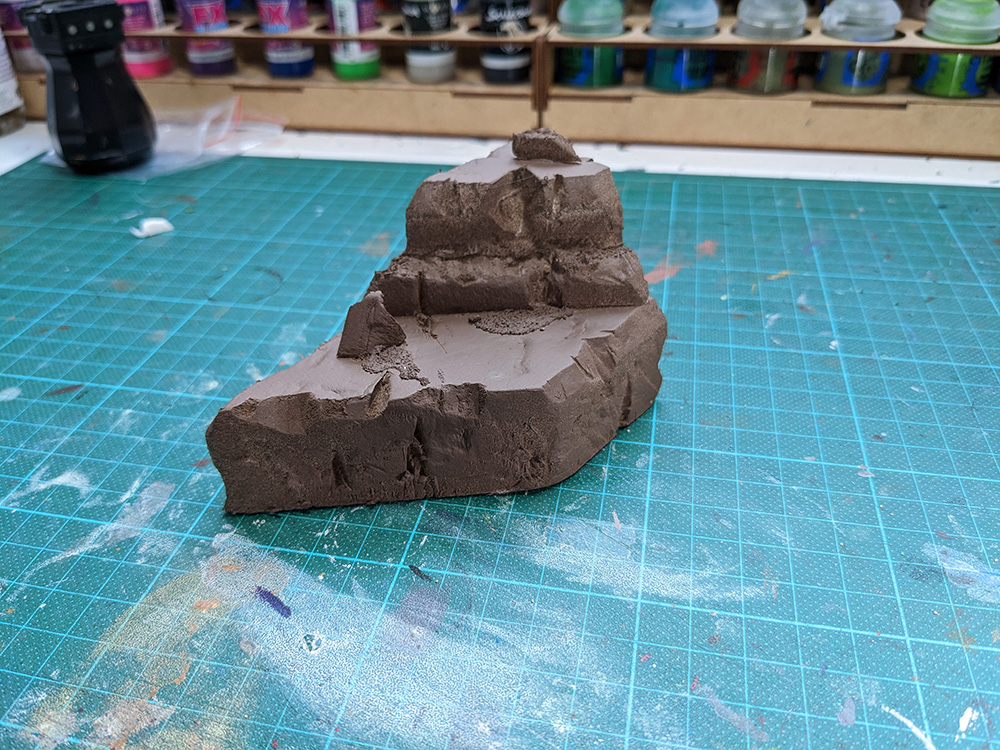
Polystyrene, being a synthetic material, dissolves upon contact with alcohol. This means you cannot directly use your usual spray paint for priming (as it contains alcohol). Some may suggest pre-treating the structure with a protective layer of PVA glue if you still have a preference for such spray. I think this is a waste of time. The simplest solution is to use water-based spray cans as you can prime polystyrene safely. I personally used The Montana (MTN) brand as it offers a large palet of colors.
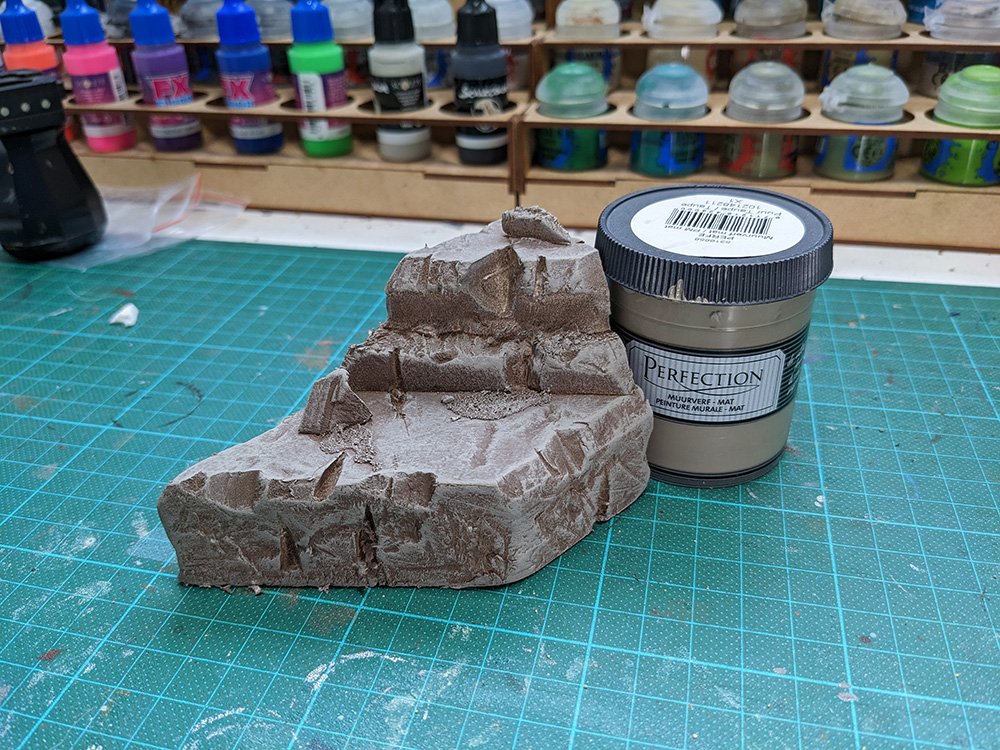
Dry Brushing
Once the paint is dry, I use a large brush to dry brush with a color a few shades lighter. Given the size of the rocks, I recommend purchasing paint from hardware stores rather than using your Citadel pots. It will be much more cost-effective.
Tip
I recommend buying a sample of wall paint. The 75 ml pot is more than enough for dry brushing and cost only a few euros.
Secondary Flocking
Finally, in this last step, you add the finishing touches such as static grass and an artificial plant.
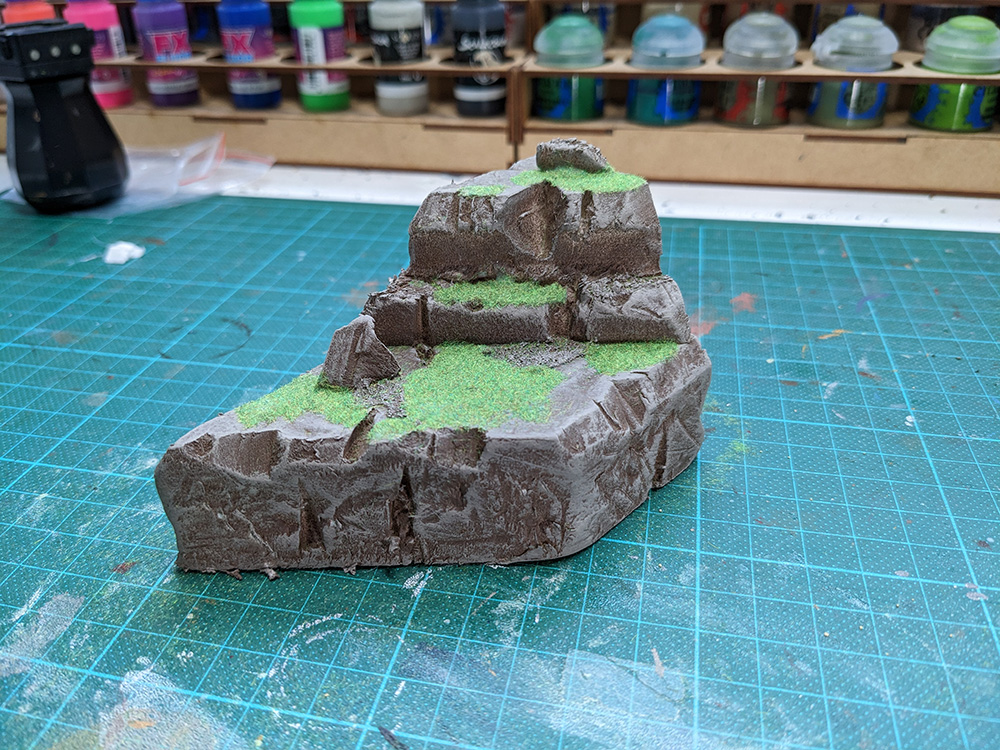
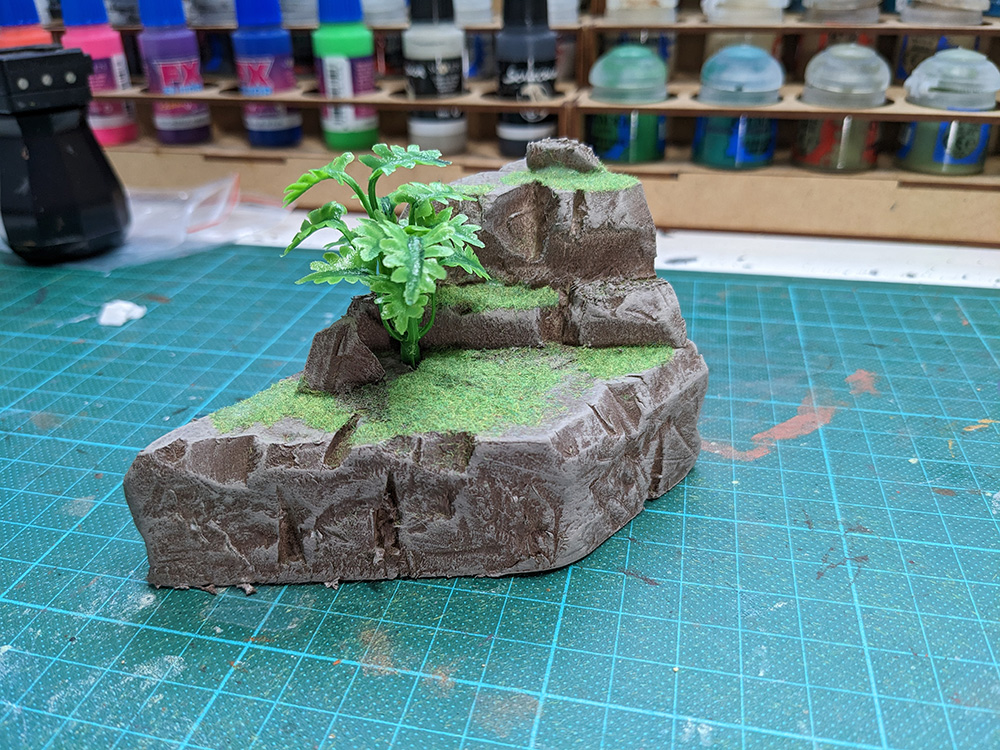
And that’s it, folks ! Nice looking rocks for your gaming table.
Required Materials: Checklist
Below is the complete list of materials I used to create this terrain piece:
- Large box cutter
- Polystyrene
- Polystyrene glue
- Wood glue
- Toothpicks (optional)
- Sand
- Static grass
- Artificial plant (optional)
- Water-based spray paint (Montana brand, Water Based version – Color: RV 332)
- A sample of wall paint in a lighter shade than the Montana spray can.
