“No plan of engagement survives first contact!”
Quote from an unknown soldier
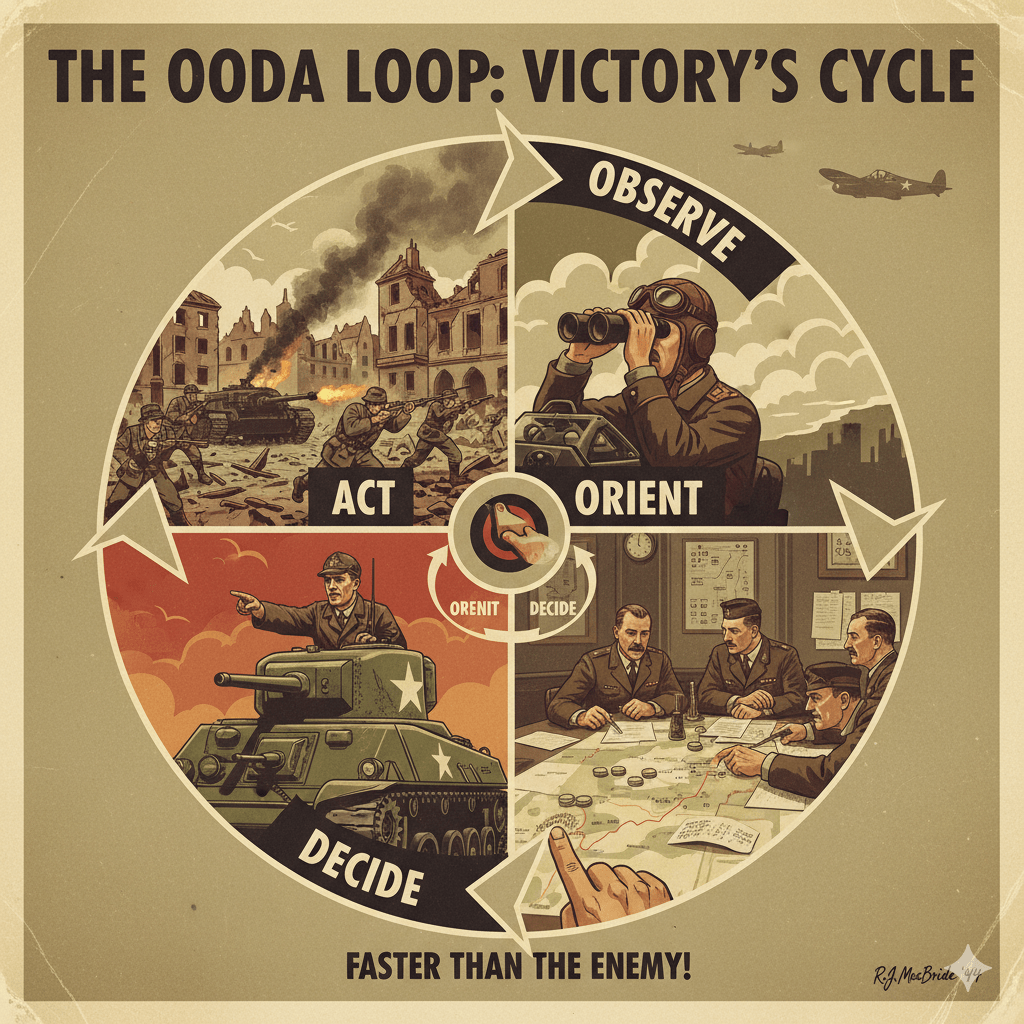
Developed by American fighter pilot John Boyd after the Korean War, the OODA loop (for Observe, Orient, Decide, Act) is a strategic framework. It models the ability to outpace an opponent by cycling through these four phases of decision-making faster and more efficiently, in an iterative manner.
The order dice system in Bolt Action
In Bolt Action, the fire initiative mechanism is random and relies on drawing order dice. These order dice, in two different colours, are gradually depleted during the turn. This system naturally balances the probability of drawing one colour or the other.
This mechanism therefore introduces several strategic constraints specific to the game system: the difficulty of consistently having the fire initiative during a turn, but also the challenge of coordinating your troops in a logical and efficient way. The chain of command, created through company commanders and platoon commanders, allows this coordination. Mastering this specific element of the game is essential to getting the best out of your troops.
1250 points and 12 order dice?
Within the standard 1,250-point format, it is possible to field slightly more order dice than your opponent. This provides a noticeable “advantage” regarding which colour dice are likely to be drawn early on. However, this advantage naturally evens out as dice are drawn from the bag.
In some tournaments, players are required to build lists with a defined maximum number of order dice, usually capped at 12 per player. This creates a natural form of balance in terms of fire initiative for turn one.
Whenever you draw an order die from the bag, a decision must be made. This decision is, above all, a tactical one.
Luck is often cited to explain a victory or a defeat. However, over a large number of dice rolls, randomness tends to average out. More often than not, it is tactical mistakes—identified and exploited by the opposing player—that are responsible for defeat.
Competitive and narrative players therefore share a common ground: a decision-making system rooted in military thinking and based on real-world military principles.
I would also add that time is an important factor, whether in competitive play or in narrative games. Maintaining a good pace of play is essential, and it is therefore worthwhile to train yourself to issue orders quickly in order to keep the game flowing smoothly.
The OODA cycle
Observation
First, observe the situation from a command-chain perspective. Having fire initiative over several units within the command range of a company commander or platoon leader can be a real asset. It allows you to optimise actions and coordinate multiple squads effectively.
Tip number one: do not leave your company commander or officers too far back. Keep them within range of at least two squads. Use the chain of command whenever possible—it is an excellent way to create an activation “shock”.
When the goal is to break the enemy’s chain of command, identifying NCOs, platoon leaders, or company commanders becomes a reflexive part of observation.
Where are the senior officers or the command vehicle, and how can they be eliminated?
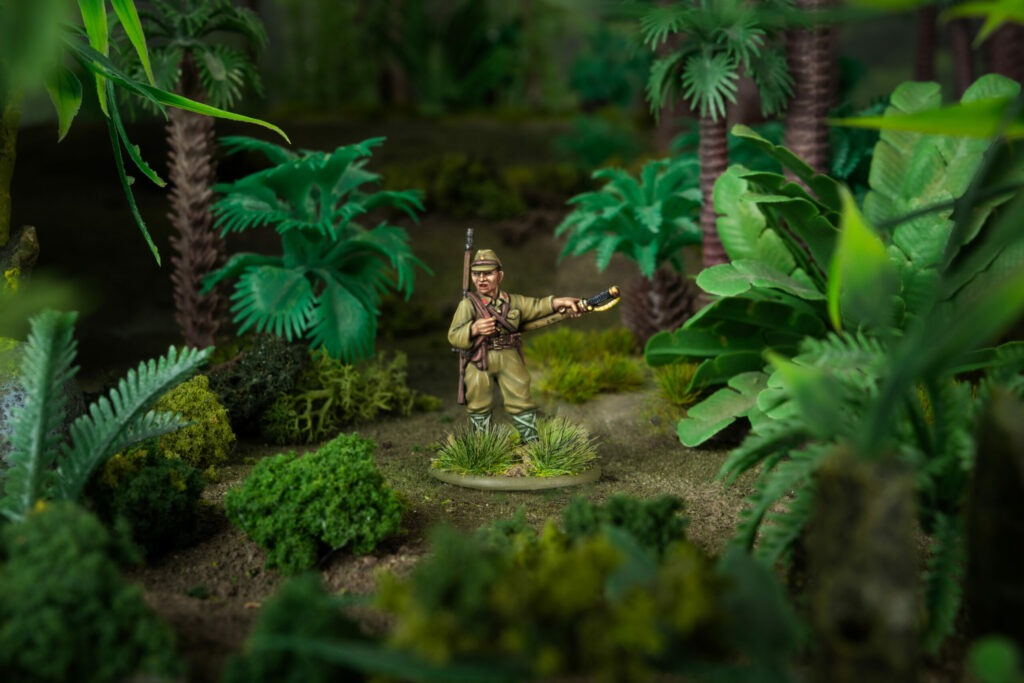
Orientation
When you activate a squad, assess its surroundings. Determine whether its movement will allow it to remain in cover for the rest of the turn. Consider the timing of its activation: early in the turn, exposing yourself is rarely a good idea. These elements shape the orientation of your squad and define its operational “profile”.
It is also worth noting that in Bolt Action, units such as medium mortars, medium or heavy machine-gun teams, and artillery are relatively static. They are ultimately only effective when stationary, which limits their tactical value in scenarios where mobility is required.
In open terrain or semi-urban environments, establishing fire denial or axis blocking becomes tactically crucial, particularly to cover the advance of your troops.
Tactical role of axis blocking and denial
This role is primarily assigned to weapon systems capable of applying sustained pressure at range. Medium or Heavy Machine Guns and Artillery are the tools of choice for this mission.
- Machine guns (MMG/HMG), thanks to their rate of fire and range, can create fire denial zones. Their action is continuous and directly targets chokepoints or movement corridors.
- Artillery provides indirect or delayed denial and blocking capabilities, saturating key axes or enemy deployment zones.
The orientation of these elements—machine-gun fire lanes and artillery strike axes—becomes critical. Their initial placement during deployment should never be overlooked and must result from careful tactical planning prior to engagement.
In urban environments, mortars can become extremely valuable for supporting troop advances, especially when paired with a forward observer to “spot” blocking elements. Fielding two mortars can therefore be viable in dense urban settings, increasing your chances of success. For more details, the dedicated mortar article explores additional tactical considerations. You can find more details in this dedicated mortar article.
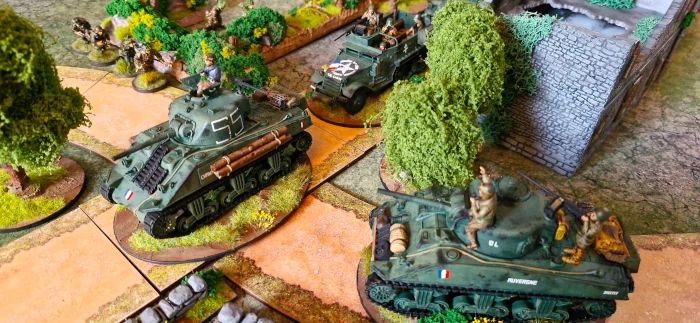
Decision
Is the decision simple?
Sometimes, yes—when the key elements are easy to identify and when the two previous phases have been properly factored into your tactical calculations.
In many cases, however, the tactical reading of the situation is confusing. It is difficult to anticipate shifts in fire initiative.
Does your opponent have the same number of order dice as you?
It is therefore sometimes wise to minimise risk when making a decision. Assume that military doctrine always favours minimal risk to troops and equipment while maximising damage to the enemy. If you identify several possible courses of action, a reasonable and militarily credible choice will often favour caution over boldness.
It should also be noted that decisions depend on the number of PIN markers accumulated by your squad. In many cases, it is better to take the risk of issuing a RALLY order rather than risk failing a morale check and going DOWN—or worse, triggering a FUBAR on a roll of 12. This is especially true if your squad is in heavy cover.
With three PIN markers or more, a veteran unit should generally opt for a RALLY order.
Regular troops, once they reach more than two PIN markers, begin to show clear signs of weakness.
Inexperienced troops should, in general, always be led by their squad leader, allowing them to benefit from the activation bonus.
Action
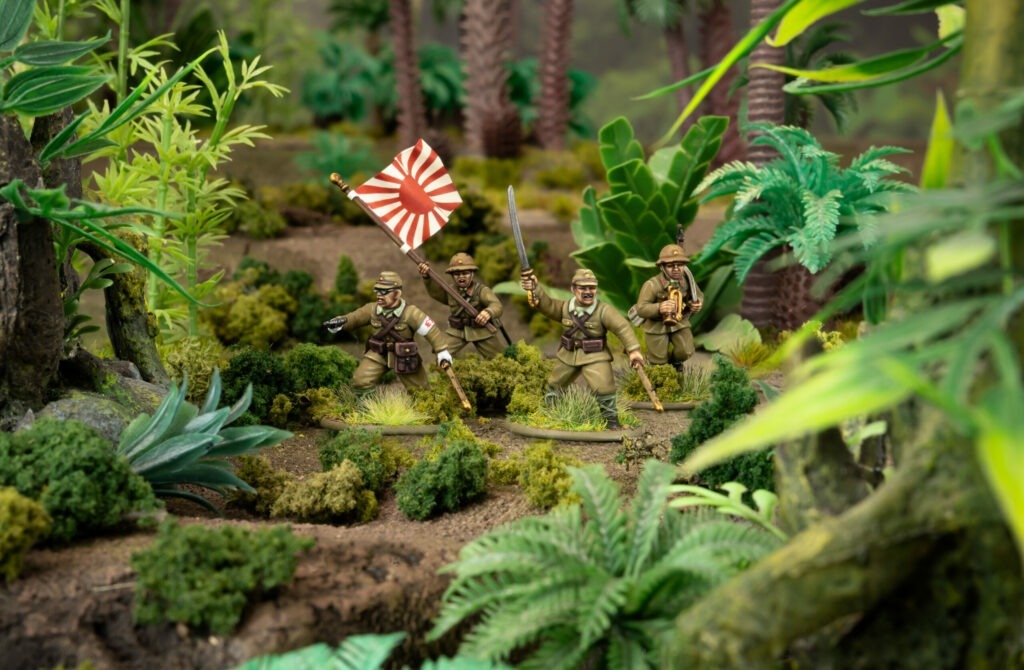
It is now time to act. Hopefully, you have not misjudged your engagement distances—the movement ranges of your troops and vehicles, and whether cover is positioned at the correct distance to benefit from it. If everything lines up, the results of your observations will pay off.
If, unfortunately, you fail a morale check when activating a unit, take it philosophically. Your men on the ground have been under intense stress, and your plan does not unfold as expected. This uncertainty is also part of the pleasure of wargaming.
Action therefore corresponds to the execution of the chosen order.
Find Bolt Action players
Join your country’s Bolt Action Discord community and connect with players nearby.
Thoughts on synergies
Chain of command
Bolt Action V3 offers a wide range of platoon commanders, allowing players to build effective chains of command. These provide bonuses that help units better withstand pressure under enemy fire. With a +2 bonus to morale checks when activating a unit affected by PIN markers, the platoon commander (Platoon Commander) grants a significant advantage that should not be underestimated.
Example: a veteran unit with a morale value of 8, accompanied by its company commander, effectively tests at 8 + 4 = 12. However, morale cannot exceed its maximum value. Rolling a 12 always results in a failure on a morale test.
Inter-arm synergy
The most obvious synergy lies between artillery or air observers and mortar teams. However, Bolt Action also features other, less obvious but very real dynamic synergies. You simply need to be aware of them in order to fully exploit their potential.
Assault and support squads
An assault squad is made up of highly mobile troops equipped with SMGs or assault rifles. They trade long-range lethality for increased firepower at close range (12” for SMGs and 18” for assault rifles). Depending on the list, it is also possible to include a flamethrower.
To reach their optimal engagement range and fully exploit their lethality, these troops must advance as much as possible while benefiting from heavy cover.
Troop movement is a critical phase and must be secured.
This is where the principle of fire support comes into play. A fire support squad is positioned further back and acts as a security element.
This squad is usually light in composition. It typically includes one or two LMGs (Light Machine Guns), with the rest of the unit made up of standard riflemen.
The primary role of this team is twofold: to secure the rear of the assault troops and to respond to emerging threats.
Its objective is to pin the enemy. It prioritizes targeting enemy units that could threaten the assault squads, forcing them to remain in cover. This pressure allows the forward elements to continue advancing without being overwhelmed. Fire support is therefore a key factor in success.
Assault troops should ideally be composed of tough veteran units. Support troops can be made up of regulars or, if they benefit from the presence of their platoon commander, large numbers of inexperienced troops—for example, two full squads.
An effective combo?
A veteran assault squad supported by two regular support squads represents a serious threat. Having a supporting unit positioned further back, capable of fixing the target, allows the assault to be prepared under far better conditions.
Coordination
Launching an assault is about setting the “tempo” of your actions. Before advancing toward an enemy objective, move your support troops into firing range and target the squads defending that objective. The goal is to stack PIN markers on those units.
Then, in a second phase, advance your assault troops from cover to cover, while never easing the pressure on the enemy units surrounding the objective.
This type of manoeuvre is generally built over three turns.
Transport vehicle and assault squad
A transport vehicle carrying two veteran assault squads along with their platoon commander represents a powerful striking force. Its ability to issue enough orders allows the transport to move forward with an Advance order and then deploy the assault squads as close as possible to their target.
This synergy is highly effective, but it also makes the troops vulnerable to anti-tank fire. You should therefore avoid remaining inside the transport for too long. Favour theatres of operation that provide plenty of cover and line-of-sight blocking elements for vehicles.
Fixed team weapons and support squads
An MMG and a support squad can mutually support each other. While the support squad “covers” the MMG team as it moves into a better firing position, the MMG can then return the favour by protecting the support squad as it relocates. If necessary, this cycle can be repeated.
In the article dedicated to tanks, I also explored the possible synergies between units and the benefits of proper coordination.
Implementing an OODA loop is not always an instinctive approach when discovering a new game. New rules, their internal complexity, and special abilities often overshadow purely strategic decision-making. However, with a bit more experience, this type of thinking becomes natural. Competitive players will likely identify these mechanisms as second nature.
Written by :

Support an independent wargaming website
Critical Hit is a volunteer-driven project, but it still comes with real costs. If the site helps you in your hobby, please consider supporting us on Ko-Fi. Every contribution, no matter how small, means a lot to us and genuinely helps us keep the project going.
