Introduction – Leningrad July 1942
It was hot at the end of July 1942 on the Russian front. The siege of Leningrad, which had begun in January 1941, had already been dragging on for over a year, causing immense suffering.
Sergei moved along the banks of the Luga River, sometimes crawling, sometimes bent over for cover, hidden by the tall grasses of the area. Around him, several shell holes filled with stagnant water offered additional shelter. His green uniform was smeared with mud. A putrid stench rose from the earth, the bodies of his comrades fallen in battle months ago in the sector polluting the air and soil.
He reached a small mound from which he could observe the German lines, at 600 metres, entrenched. Sergei raised his binoculars. Positions had shifted: a new trench to the south and, about 900 metres away, he discerned a new bunker, a munitions and fuel depot, and a shelter for the Germans. He noted these on his map and estimated the distances, perfect work for his mortar team.
In the dry grass, crickets chirped, undisturbed, a sign that nature cared little for human affairs. He smiled as he spotted a machine-gun nest, camouflaged with dead branches and withered foliage.
He retreated slowly, crawling for 600 metres, his notebook carefully stowed in his bag, towards Leningrad’s defensive lines.
“Comrades gunners, I have targets for your mortars for our next assault!”
Bolt Action: mortars, doctrines and tactics
Having taken these first steps, shall we turn our attention to the use of mortars?
Mortars in Bolt Action have a somewhat particular role. Their 6+ firing capability, regardless of modifiers, makes the first shot rather uncertain. However, subsequent shots improve: 6+ for the first shot, then 5+, and so on. If a hit is scored, subsequent shots are made on a 2+.
Given these conditions, are they an interesting weapon, and when should you deploy them?
A quick rule note on mortars
In Bolt Action, mortars can only target units. Thus, a piece of terrain, a crossroads, or a ruin are not valid targets. The exception is buildings, which are valid targets and the goal is to destroy them.
Building destruction occurs on a penetration roll of 10+. You can therefore also direct your mortar fire at buildings to “deny” access to enemy troops, making them very dangerous to occupy.
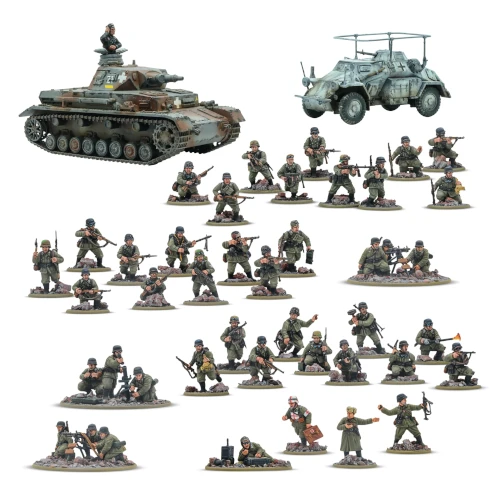
Almost every Warlord starter army includes a mortar and one or two machine-gun teams.
Light mortars: mobility and tactical support
Light mortars are essential assets for commanders who prioritise mobility and direct tactical support. Unlike their heavier counterparts, these weapons are not intended for long-range bombardment, but rather to accompany infantry into the heart of action.
Comprising a shooter and a assistant, the light mortar team is a truly mobile unit. Their small size and ease of use allow them to keep pace with your troops, providing near-instant fire support, with a minimal chain of command.
Their greatest strength is versatility. Able to fire on the move or from a stationary position, they can adapt quickly to changing circumstances. However, this mobility comes at a cost:
- Reduced firepower: The 1″ HE shell has relatively low explosive power, typically affecting only one or two figures.
- Limited range: They cannot reach distant targets, making their positioning critical.
The main value of the light mortar lies in its indirect fire capability. While it causes little direct damage, its role is to weaken and disrupt the enemy. By using indirect fire to deliver PIN, you can “stun” a unit behind heavy cover or make it more vulnerable before an infantry assault. It is the perfect tool to prepare the battlefield for the final push.
Medium mortars: balanced firepower
Medium mortars offer a more static approach and an interesting alternative for several reasons. Their powerful anti-personnel strike and ability to destroy lightly armoured vehicles make medium and heavy mortars inherently versatile in target selection.
Both types suffer from inertia. Being restricted to stationary firing, they become weapons of the battlefield’s rear lines, vulnerable if observers are killed.
Heavy mortars: strategic bombardement
Indirect targeting of vehicles can be justified, particularly on cluttered maps with limited lines of sight. The observer can achieve small miracles compared to, say, an anti-tank gun, which would be too constrained on an urban map.
However, these weapons are stationary and therefore fragile by nature. Once the observers and spotters are eliminated, they become silent. This is a key consideration when selecting them for your army lists.
Ideal targets for medium and heavy mortars
A well-defended and fortified zone: your spotter illuminates the target, then takes cover, and you begin systematic bombardment of the position.
It is best to have two mortars hitting the same target. Once it is struck, redirect the second mortar to another target if needed.

Find Bolt Action players
Join your country’s Bolt Action Discord community and connect with players nearby.
Deploying mortars: tips and best practices
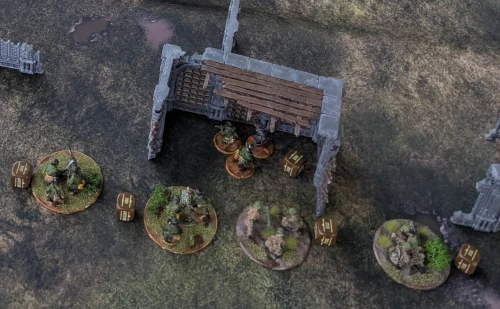
Deploy your mortars in areas protected from direct fire. With a 60″ range for medium mortars, you can cover a large combat zone. It is unlikely that your mortars will need to move once deployed to adjust their range effectively. By keeping them behind obscuring cover (trenches, buildings, woods) for as long as possible, your mortars remain effective and are unlikely to come under enemy fire. Keep the Company Commander nearby to maximise their activation, drawing dice at the right time to operate them as a battery.
Mortar spotters: maximising accuracy
For only 10 points, opting for an advanced observer is an excellent investment to maximise your mortars’ effectiveness. This upgrade is available to all nations and provides a significant tactical advantage.
The main advantage of an advanced observer is the decoupling of the mortar’s line of sight from its own position. This allows you to position the weapon in a fully protected area, out of view, behind heavy cover or inside a building, while giving it a line of sight to the enemy via the spotter.
An additional benefit is that other observers, such as an artillery observer or an aerial observer, can also direct your mortar fire. This multiplies targeting options and gives you greater tactical flexibility on the battlefield, allowing you to engage targets on multiple fronts or reach positions your mortar could not normally see.
Choosing your targets
Ideally, the perfect target for mortar fire is a squad or lightly armoured vehicle that has already rolled an order die this turn, ensuring it will not move.
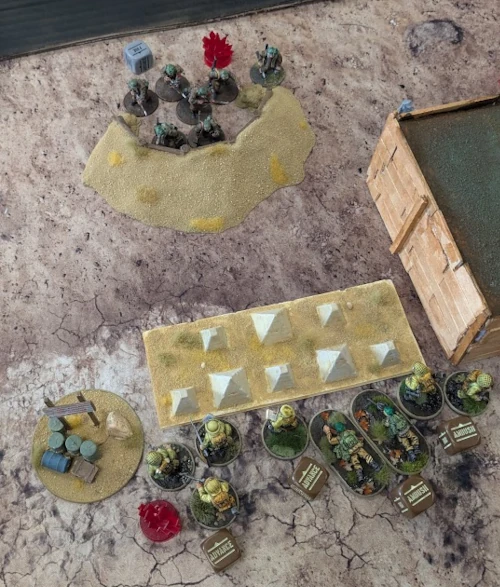
It is only during the second turn that mortars should fire before the target moves, otherwise they lose all the bonuses from the first turn’s adjustment. Therefore, on the second turn, an army with two or three mortars must consider “fire initiative” and ensure that a platoon commander is present to coordinate the shots of these two or three mortar teams.
How many mortar shots on the same target?
In Bolt Action, a mortar represents an indirect threat capable of pressuring entrenched infantry or light vehicles. However, the probability of hitting with a single mortar is initially low, about 16.7 %. A capricious dice roll sometimes leaves the “6-roll enthusiasts” frustrated. Should you deploy one, two, or even three mortars?
Let us imagine a simple, common scenario in Bolt Action:
- Your mortars are well-protected and out of enemy line of sight,
- Your spotters have a clear line of sight on the objective,
- Your Company Commander is near your mortar battery,
- It is your turn to play.
You activate your Company Commander, and a nice barrage on the target begins. This is crucial to control the tempo of the battle and maximise your mortars’ effectiveness.
Probability of hitting with mortars
The mortar offers a strategic option in Bolt Action, but the probability of hitting evolves over turns and depending on the number of units deployed.
Single mortar scenario
- Turn 1: Your chance to hit is 1/6, i.e., a 16.7% success rate.
- Turn 2: If the target hasn’t moved, your chance increases to 2/6, or 33%. It is crucial that the target remains stationary between turns 1 and 2, and that you have fire initiative at the time of the second shot.
Two-mortar Scenario
- Turn 1: The probability of hitting at least once jumps to 1 – (25/36) = 30.56%. Even on the first turn, this probability is already more comfortable.
- Turn 2: With two mortars firing at the same target on turn 2 and the difficulty dropping to 5+ (if the target hasn’t moved), the probability of hitting rises further: 1 – (4/9) = 55.56%. This represents a very high likelihood of hitting at least once and causing significant damage.
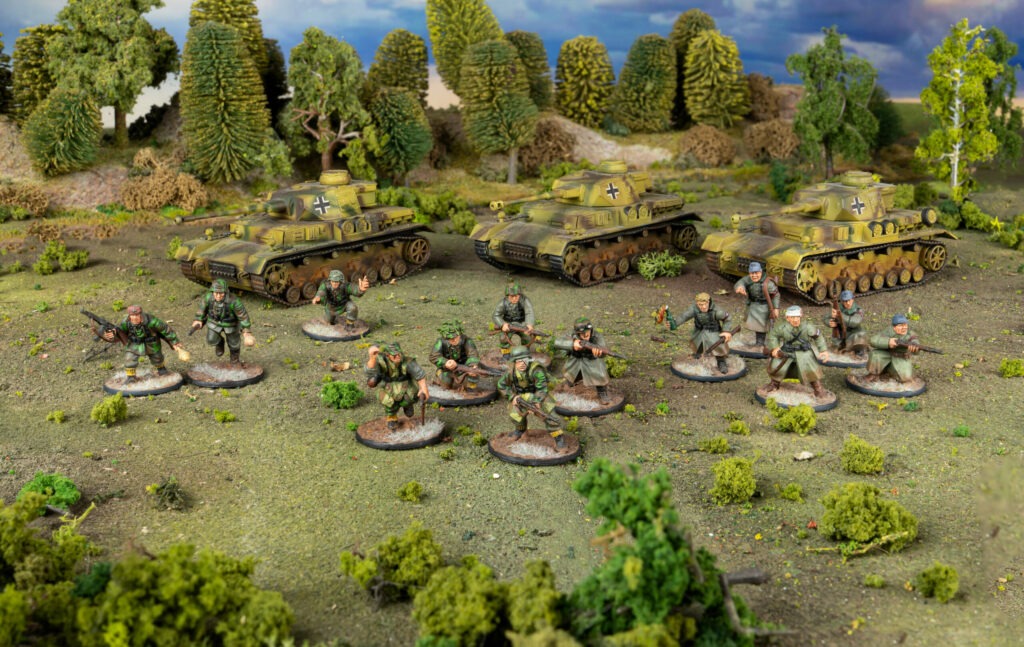
Three-mortar scenario
- Note: At this stage, to optimise points, it may be wise to select three inexperienced mortars, as inexperience does not affect hit calculations.
- Turn 1: The probability of hitting at least once jumps to 1 – (125/216) = 42.13%. You almost reach a 50% success rate.
- Turn 2: With three mortars, adjustment becomes even easier. The teams communicate and coordinate their fire very efficiently: 1 – (8/27) = 70.37%. The target is highly likely to suffer at least one hit.
What is the most reasonable choice?
You now have several points to consider. Will your army list include mortars? If so, how many and at what experience level?
I tend to think that, depending on the scenario and type of army, a tactical support element made of mortars can be valuable in various configurations.
A mobile army could benefit from substantial indirect fire support. A heavy weapons platoon consisting of three medium or heavy mortars and two heavy machine guns to protect them would be a solid option, provided the terrain allows safe deployment for as long as possible.
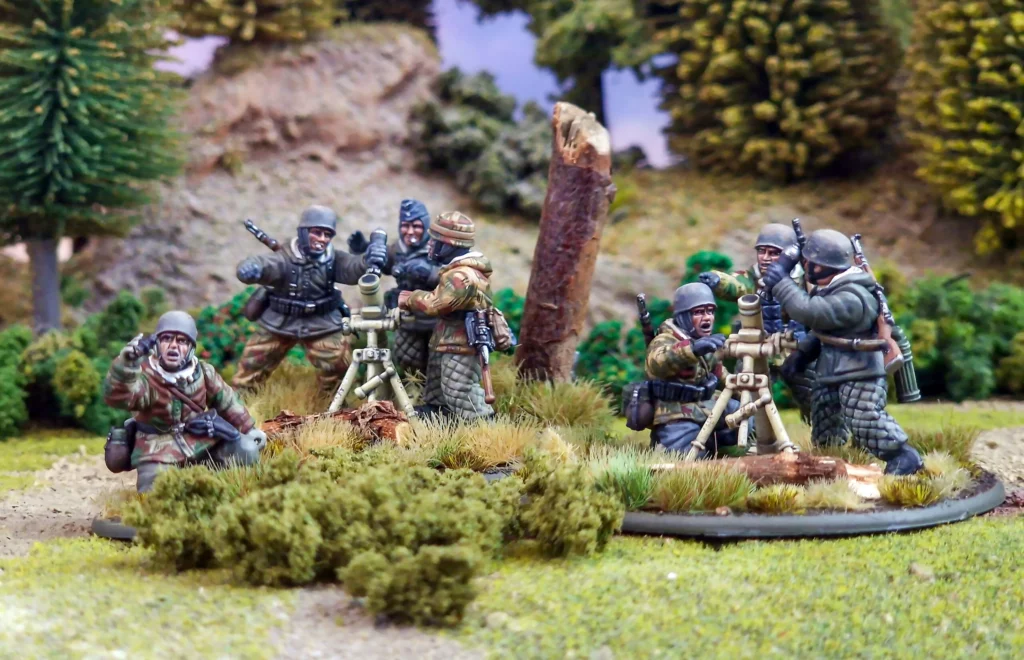
If the terrain offers little heavy cover or few lines of sight in deployment zones, the mortar option becomes more questionable, especially if you’ve chosen inexperienced troops for these teams.
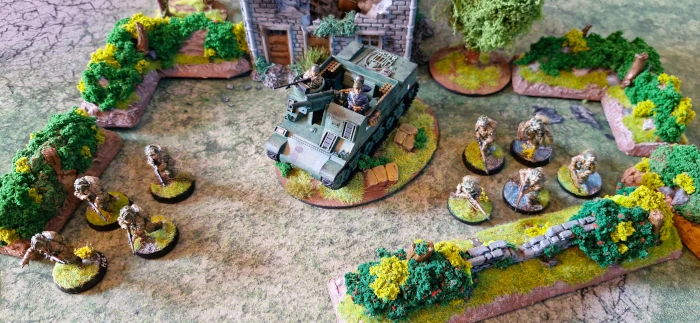
Giving your infantry some punch with two light mortars that follow the troops as they advance to provide support is a good option.
Even though their firepower is limited, they still offer interesting and inexpensive fire support. This requires coordinating the actions of your light mortars with the squad they are supporting, ideally under a rifle company commander who issues orders throughout the battle.
Strategic considerations
Mortars also provide an excellent way to apply intense psychological pressure on your opponent. The idea is that as soon as a line of sight is opened between enemy troops and the mortar spotters, those troops are at risk. A successful hit increases the PIN on the troops if they survive the shot.
A team of two or three mortars increases reliability and may make your opponent hesitate to occupy certain positions, avoiding key lines of sight. This can be exploited by your own troops to advance towards a given objective.
Note that a moving tank’s cannon shot without PIN is 2/6 (5+), or a 33.33% chance to hit. This is almost the same as indirect fire on the same target with two mortars, at a lower cost if you select two experienced mortars with their two spotters.
Mortars won’t replace your tanks, and their tactical use is very different. As infantry support, mortars can be a valuable choice in many situations—especially in urban combat areas with poor lines of sight where tanks could quickly become restricted with few firing options.
Optionnal rule – Indirect Fire
You might want a slightly more organic rule for mortars and indirect fire in Bolt Action. I invite you to discover this alternative proposal, which offers a different way to handle a failed mortar shot and a way to better distinguish between an inexperienced, regular, or veteran mortar team.
The first page offers the rule in French, my native language, and the second page offers the rule in English. You can find it here.
Conclusion: when mortars make a difference
While the first mortar shot may seem random, combining two units and taking advantage of improved accuracy on the second turn transforms a slim chance into a roughly 56% success rate. This makes two mortars not only a viable option but also a stealthy artillery piece that can dictate the tempo of the battlefield turn after turn, maintaining near-constant pressure on the opponent. The numbers speak for themselves: for artillery enthusiasts, doubling or even tripling the mortars pays off!
Also, provide an infantry squad to defend their position if they are approached for destruction, plus one or two machine gun teams. This can mobilise resources to make them effective. And of course, don’t forget dedicated spotters and an advanced observer.
From my perspective as a player, I would rank light mortars as not necessarily essential for an army. However, to respect a certain historical compromise, such weapons were still used on the front during the Second World War.
Medium mortars seem to me to offer a good efficiency/cost ratio. Don’t forget to include spotters for 10 points and, if possible, an observer. For maximum effectiveness, two mortars minimum are recommended.
Written by :

Support an independent wargaming website
Critical Hit is a volunteer-driven project, but it still comes with real costs. If the site helps you in your hobby, please consider supporting us on Ko-Fi. Every contribution, no matter how small, means a lot to us and genuinely helps us keep the project going.
